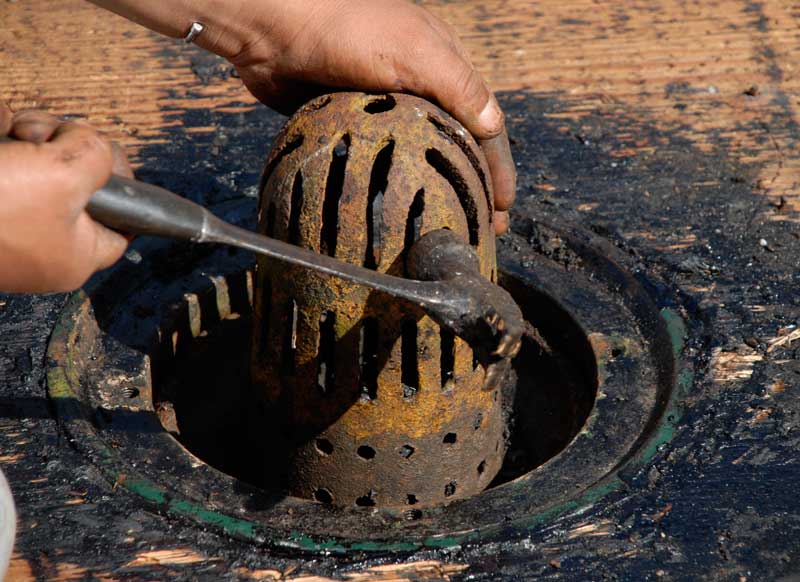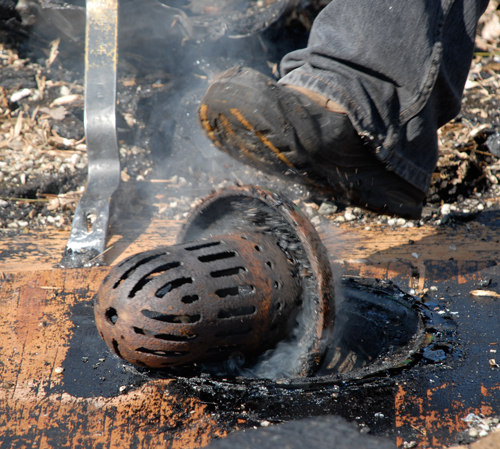
Drains are the most important part of any flat roof. The sad part is, most of them are poorly positioned and are not 100% effective. We serve Pittsburgh, Stamford, White Plains and all of PA, CT and NY. Often we see drains that are higher than the rest of the roof. This makes water pool over the flat roof area. When a drain is at the same level as a roof surface or slightly higher, debris will collect and cause the membrane to prematurely fail.
Pooling dirt water has a tendency to separate seams on a rubber membrane. It is always the best policy to prevent pooling water. The less water pooling on a roof, the less likely it will leak.
There several types of drain systems for a commercial roof.
Inner Drains – these drain to the inside of the building and are not exposed to cold temperatures during winter.
[otw_shortcode_content_toggle title=”Drain Installation Video Transcription” opened=”closed”]Alright, this is another drain I want to give you a demonstration on, and this time, this roof was covered with a TPO roof and of course then they had to do some kind of detail around the drains. Drains are one of the most difficult parts of re-doing a roof or when you do a commercial roof. It has to be very well sealed and secured and you can tell by looking at this drain that um, what happened is you can see there are many layers. There’s about five layers of TPO. They tried to secure this drain, and um, all of that means it’s difficult and then underneath this TPO roof, you also have a modified bitumen roof that has a drain in there. So, I’m gonna have to remove all of this, and then come to the copper insert that I, I assume there’s a copper insert underneath this and then I will redo my drain, but when you redo a roof, make sure you take everything out. You cannot just go over somebody else’s work. It doesn’t work. In this case there are maybe ten different layers of roofing material that they’ve been over and over tried to patch it. You can see there’s an EPDM patch right on top of a TPO roof, the TPO roof on top of foam, the foam on top of the modified bitumen. So, this is too much and it’s built up and then the drain becomes higher than the rest of the water here and then you have water pooling around this drain because so much build up. So, what I am going to do is remove all of this and then we gonna start ah, ah, connection to the drain. Alright, we’re removing the TPO there, you can see how wet it is. Underneath the TPO, there’s water there. So, all of those layers and attempts, still didn’t help solve the problem. Alright, so, redoing this roof and stripped off the TPO, and then we had to redo the drain, came to find out that the drain was messed up and which I thought was a copper drain underneath the other drain happened to be nothing. They messed up the drain and this was installed ah, as a retrofit, um, so I removed the drain and I ordered another drain to be installed. And what I’m going to demonstrate to you is how to install this drain and tie that into the roof. That is what you are going to see now. This is fairly a pretty easy drain to install, uh and it fits right in to a three inch pipe. Let’s start. The drain is somewhere here. Alright, right there. So right here is the drain. I’m gonna put my, my expansion rubber in there. So you can see, me tightening up the bolts expanded this rubber right here. This will expand inside the pipe, in a three inch pipe and cause a tight seal, so water can never back up and then into your house, if you have a backup or a clogged drain. That’s the reason you want expansion rubber like that make that tight seal. This is a very good system, um, and I recommend it very highly. Into the pipe with the expansion rubber there and then I get this ready where I’m gonna put that so I can flange there, up slightly, okay and I heat this up, take my adhesive, see this adhesive here smear that underneath there, just like that. I’m making a gasket goes down right there I get the screw gun. I already formed this so it will fit nice and tight. Nice. So, already that’s a seal and it will not leak it’s nice. So, just doing that by itself it will almost not leak anymore. Okay, I tighten that expansion um rubber. Okay, that and okay, alright so I get the bolts complete lift this up. This is where technique comes in. Most people who does torch roofing, they would heat this up with a torch and melt it to that metal. It’s a big mistake. This material melts and expands, the metal doesn’t expand and after awhile it becomes loose and you have a leak. That’s not how you do it. You put down our adhesive over the metal right there and we ready to and this was a pretty easy drain to install. I burned the plastic off so it will stick to this uh adhesive. Alright, there you go. Nice. Alright, make a good seal and well them together and this will never never, very good. That’s this drain. And your final thing, you put your strainer on. This whole drain is a metal drain. There’s nothing plastic about this. What I took out here had plastic in it. Now, this is very good plastic, I realized it, but sometimes people put tar and all kinds of stuff in here and the plastic and the metal sometimes starts leaking because of the transition. I don’t say this drain is bad, I just say, I don’t like it. This strainer it starts cracking after awhile, it gets hard in the sun and they start cracking. Oh yeah, cracked broken already. I don’t like the plastic. If you’re gonna get a drain, get a metal drain, metal strainer like this. This is quality. The only thing that you get to do this roof once in twenty or thirty years, this roof is gonna last over thirty years, and you don’t want to replace strainers and drains and fix anything. This is the best way to do a drain, just get a metal drain and do it right from the first time, never have to be redone. Alright, that’s it for your drain.[/otw_shortcode_content_toggle]
This video above is about replacing a drain on a flat roof. This could be done on any Commercial roof.
We serve all of Pennsylvania, Connecticut and New york. ( Stamford, Norwalk, Greenwich, White Plains, Pittsburgh, Monroeville)
Outside Drains – these are drains that have the pipes attached to the outer walls of the building. These have a tendency to freeze during the winter and not let the water run off the roof.
Scuppers – these are the openings or areas on the side of the roof draining off water. These are very effective since water will flow freely over the edge of the roof in a dedicated controlled area.
Gutters – these are mostly found on metal roofs. A commercial roof can incorporate all four types of drainage systems.
How to design the best drain system for any flat roof
Generally most roof drains are poorly designed. Although drains are the most important part of a roof, very little thought is put into their location and design.
The basic function of a drain is to remove water from a roof effectively. To achieve this the following factors must be in place:
- Roof must slope toward drain area.
- Drain and pipe must be large enough for the volume of water.
- Strainer must keep debris from clogging the drain.
- Placement of the drain is important.
Roof Pitch
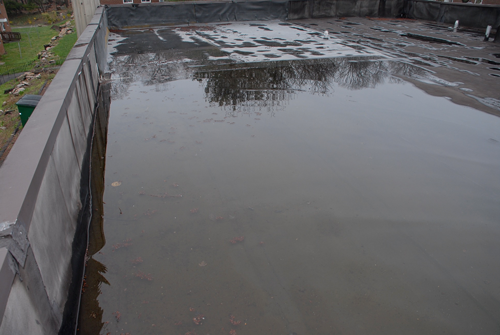
A flat roof doesn’t necessary have to have a positive pitch. It is important that the drain be placed close to the lowest point on the roof. One way to determine the low part of the roof is to string a line across the surface. This will show where water might be pooling. A laser leveler can also be used.
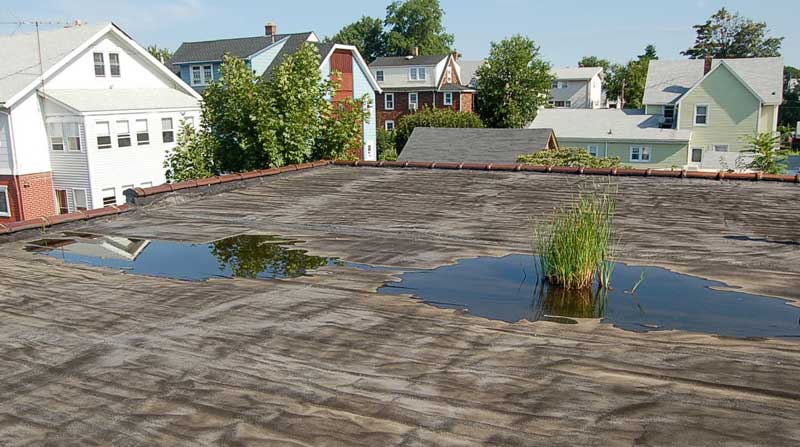
There is far too much water on this roof in the picture, which puts too much stress on the structure. What is amazing is that this is a Modified Bitumen membrane and it has been like this for over 15 years. Now that is proof that water can pool on a roof without causing too much harm.
No roof is 100% flat. There will always be some pooling of water on many areas on the roof. The best thing to do is to place a drain in those areas where the water is pooling.
Roof Drains – watch video below for the best drainage system.
A roofing contractor installs drains according to the blue print he is given. Architects and engineers have failed to provide good specifications on where and how drains should be installed. That’s why you will see pooling water and roof failures many times.
The best drain system is recessed into the substrate. Besides recessing the drain, this also provides an area where debris can be trapped. Provide a big enough drain grate and the combination is a very well thought of drain system.
In this video we explain how a good drain system is suppose to work. This drain was recessed and a big square area provides for the collection of debris. We kept the old cast iron grate in place.
Although the roof is relatively flat, most of the water flows to the drain area. The video above is a good example of how to design a good drain system.
The most important feature of a drain is to be able to drain water off a roof even if there is debris collecting around the grate or strainer. That’s why it is a good idea to make an area around the drain that will collect debris while the water can still flow out.
The picture below shows a drain in the proper location, the lowest part of the roof. The problem is, debris is still preventing water from draining off the roof. This is why it is important to lower the area around the drain so it will collect debris and allow water to drain off.
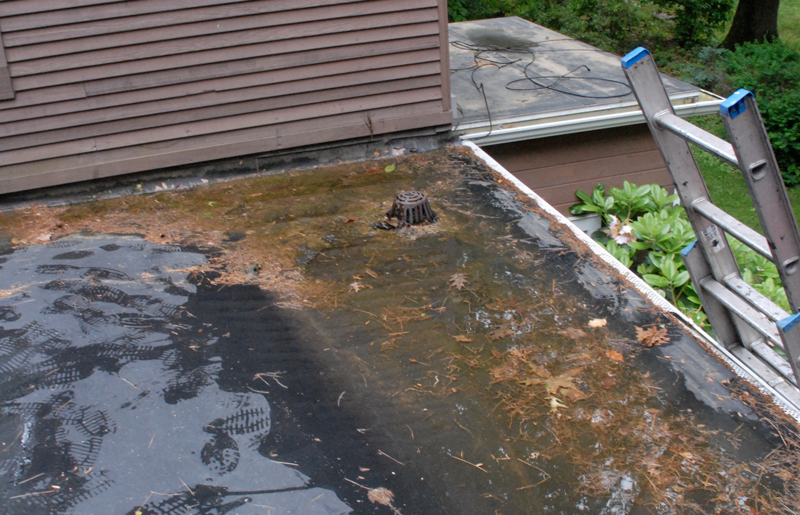
Below is another image of a drain that has a recessed area around it. It is critical that the holes or slots be large enough to let small leaves and debris through the grate or strainer. This is important because too small holes will quickly clog the strainer making it ineffective.
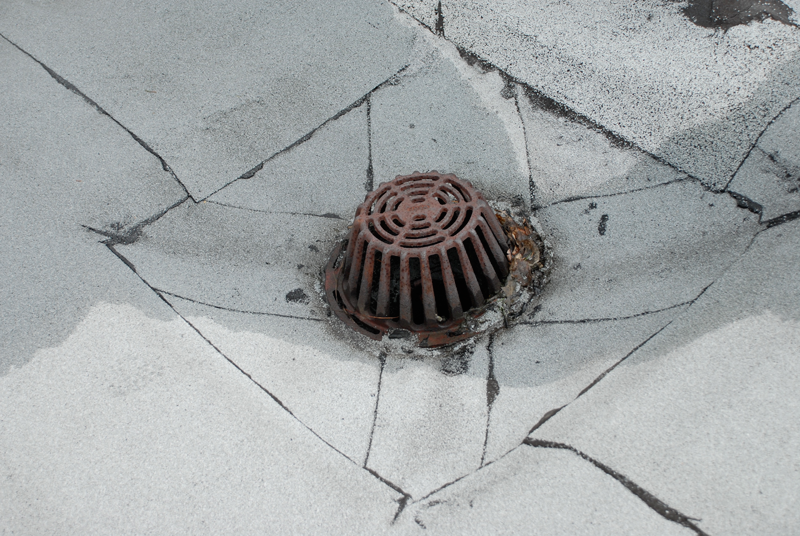
Grates or Strainers on a Roof Drain are very important
The image below shows what happens if a drain is not properly flowing. The pitch of the roof is towards the drain. There was no area to catch the debris around the drain and the results are the strainer was clogged and caused water to permanently pool making it possible for plant life to grow.
This cast iron strainer is from the 1930’s. The idea was to make a low area around the drain itself. The only problem is, it was to small. Debris would fill that catchment so fast and it was hard to clean it out.
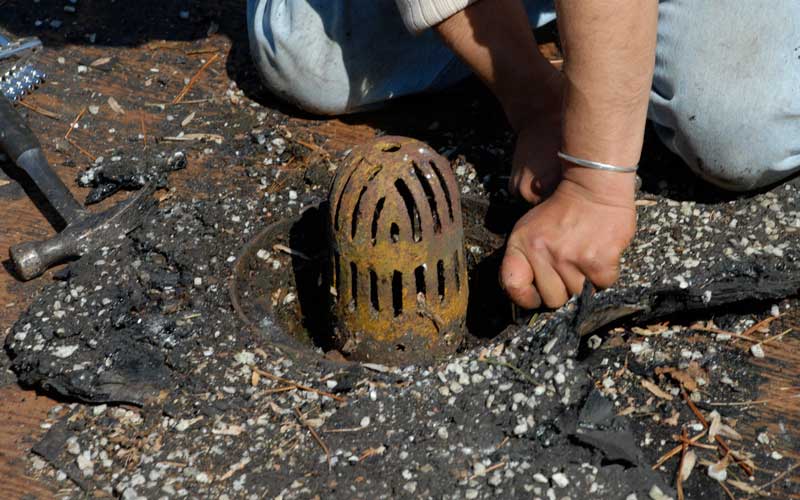
The image below shows a typical drain that is installed level with the roof surface. The amount of debris collected around it prevented it from draining. This in turn caused the roof to leak.
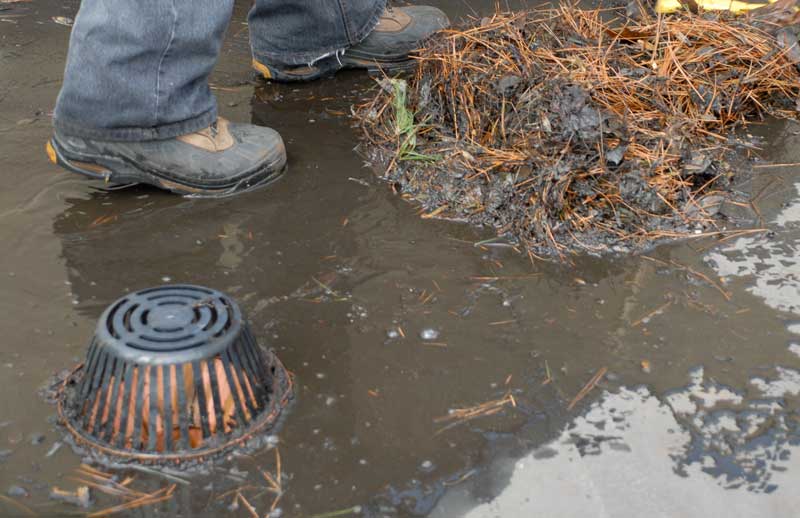
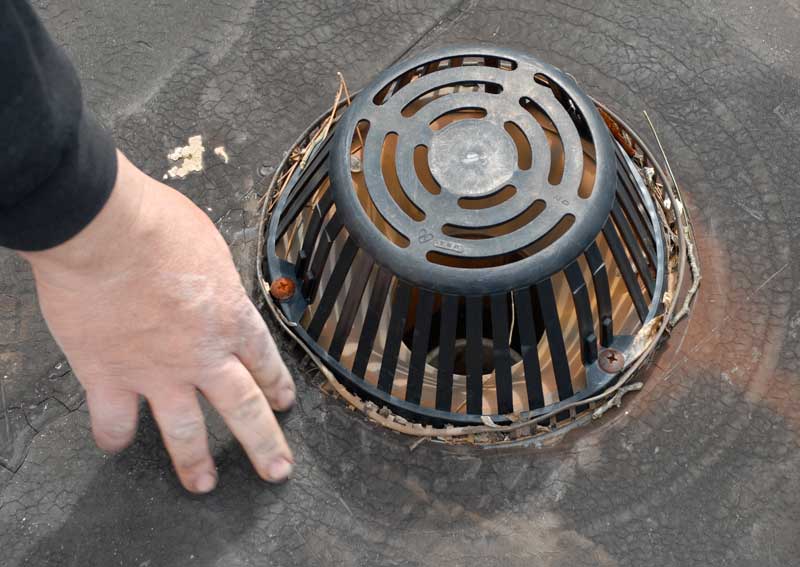
Plastic strainers like these in the images are not recommended for a commercial flat roof. After a few years they get hard due to the ultraviolets and sun and start to break up. During winter the plastic gets hard and could break easily if someone tries to work around it. The best solution is to replace these strainers with metal ones.
The holes and the slots on the strainer below are far too small. This is the worst type of strainer. Small leaves and debris should be able to go through so the strainer does not clog up. This strainer was never effective from day one. This meant the roof constantly pooled up with water due to a bad strainer.
